Handling AWS Bounce Notifications from Simple Email Service
About a year ago, I had to code a Rails application to handle bounce notifications from AWS SES. Amazon Simple Email Service is ridiculously easy to configure and use in a Rails application. As the instructions at the GitHub gem page explain, all you need to do is add the aws-ses Rails gem and create a configuration file called config/initializers/amazon_ses.rb that contains your Amazon credentials (soft-coded of course).
But, if you need your application to handle bounce, complaint, or delivery notifications, things get a little more complicated. It took me a bit to figure out how to properly configure AWS-SES bounce notifications and to write the code required to handle AWS callbacks. So I figured it would be helpful if I built a mini-app and detailed the process in a blog post.
Note that, more recently, I had to configure AWS S3 to notify me when a file was uploaded. And, it turns out, the notification process for AWS S3 works using the same SNS notifications facility.
Bounce Notification Flow
Let me walk you through the two-step flow of bounce notifications:
First: Your Rails mailer sends an email and, subsequently, AWS-SES fails to be able to deliver that email — perhaps because the email address was incorrect, or maybe the mailbox was full, or for other reasons covered in the AWS docs for bounce types.
Second: Because you have configured AWS-SES to perform callbacks to your application when bounces occur, AWS-SES sends a POST to your application with a JSON payload that contains an array of bounced email addresses.
Handling AWS SES Callback Confirmation HTTP Post Request
The first part of that second step, configuring AWS-SES bounce callbacks, is easier said than done. The AWS configuration screens are confusing and, as I found out the hard way, your application should be coded to handle notifications before you do the AWS-SES configuration.
Mini-App’s AWS-SES Bounce Confirmation Handling
My mini-app’s routes.rb includes the following:
  get 'mail_it' => 'simple_mail#mail_it'
  post 'aws_sns/bounce' => 'simple_mail#bounce'
And here’s the controller code:
class SimpleMailController < ApplicationController
  skip_before_action :verify_authenticity_token # so AWS callbacks are accepted

  def mail_it
    logger.info "mail_it called with #{params}"
    @email = params[:email]
    SimpleMailer.mail_it(@email, 'original text').deliver
    render text: 'mail sent'
  end

  def bounce
    json = JSON.parse(request.raw_post)
    logger.info "bounce callback from AWS with #{json}"
    aws_needs_url_confirmed = json['SubscribeURL']
    if aws_needs_url_confirmed
      logger.info "AWS is requesting confirmation of the bounce handler URL"
      uri = URI.parse(aws_needs_url_confirmed)
      http = Net::HTTP.new(uri.host, uri.port)
      http.use_ssl = true
      http.verify_mode = OpenSSL::SSL::VERIFY_NONE
      http.get(uri.request_uri)
    else
      logger.info "AWS has sent us the following bounce notification(s): #{json}"
      SimpleMailer.mail_it('don@corgibytes.com', json).deliver
      json['bounce']['bouncedRecipients'].each do |recipient|
        logger.info "AWS SES received a bounce on an email send attempt to #{recipient['emailAddress']}"
      end
    end
    render nothing: true, status: 200
  end

end
The controller’s mail_it method is self-explanatory. It takes a URL like:
/mail_it?email=don@corgibytes.com
and responds by sending an email to the specified address.
Now, the bounce method itself needs a bit of explanation. As I mentioned earlier, to make AWS-SES configuration simple, your application should be coded to respond to an AWS-SES bounce callback confirmation request before configuring AWS-SES. Let me explain: When you configure AWS-SES bounces, you provide AWS the URL of your application. AWS will put that bounce configuration in a pending status until it is able to send a confirmation request to your application and gets a positive response. Anyway, I recommend that you add the route and the controller action and have the app running so it is ready to handle the AWS POST HTTP request — before you configure AWS-SES.
Heroku
Note that I put my AWS-SES Mini-App on Heroku mostly because AWS-SES callback needs to be able to POST to the URL of an addressable server. My good old localhost:3000 wouldn’t work without doing some router configuration that I wasn’t willing to do.
Configure Verified Senders
When your application is ready to respond to AWS-SES callbacks, it’s then time to configure AWS-SES. The first step is to add and verify sender email addresses. From AWS SES home page, on the left panel, click on the Email Addresses link and, in the center panel, click on the Verify a New Email Address button. Enter the address and click the Verify This Email Address button.
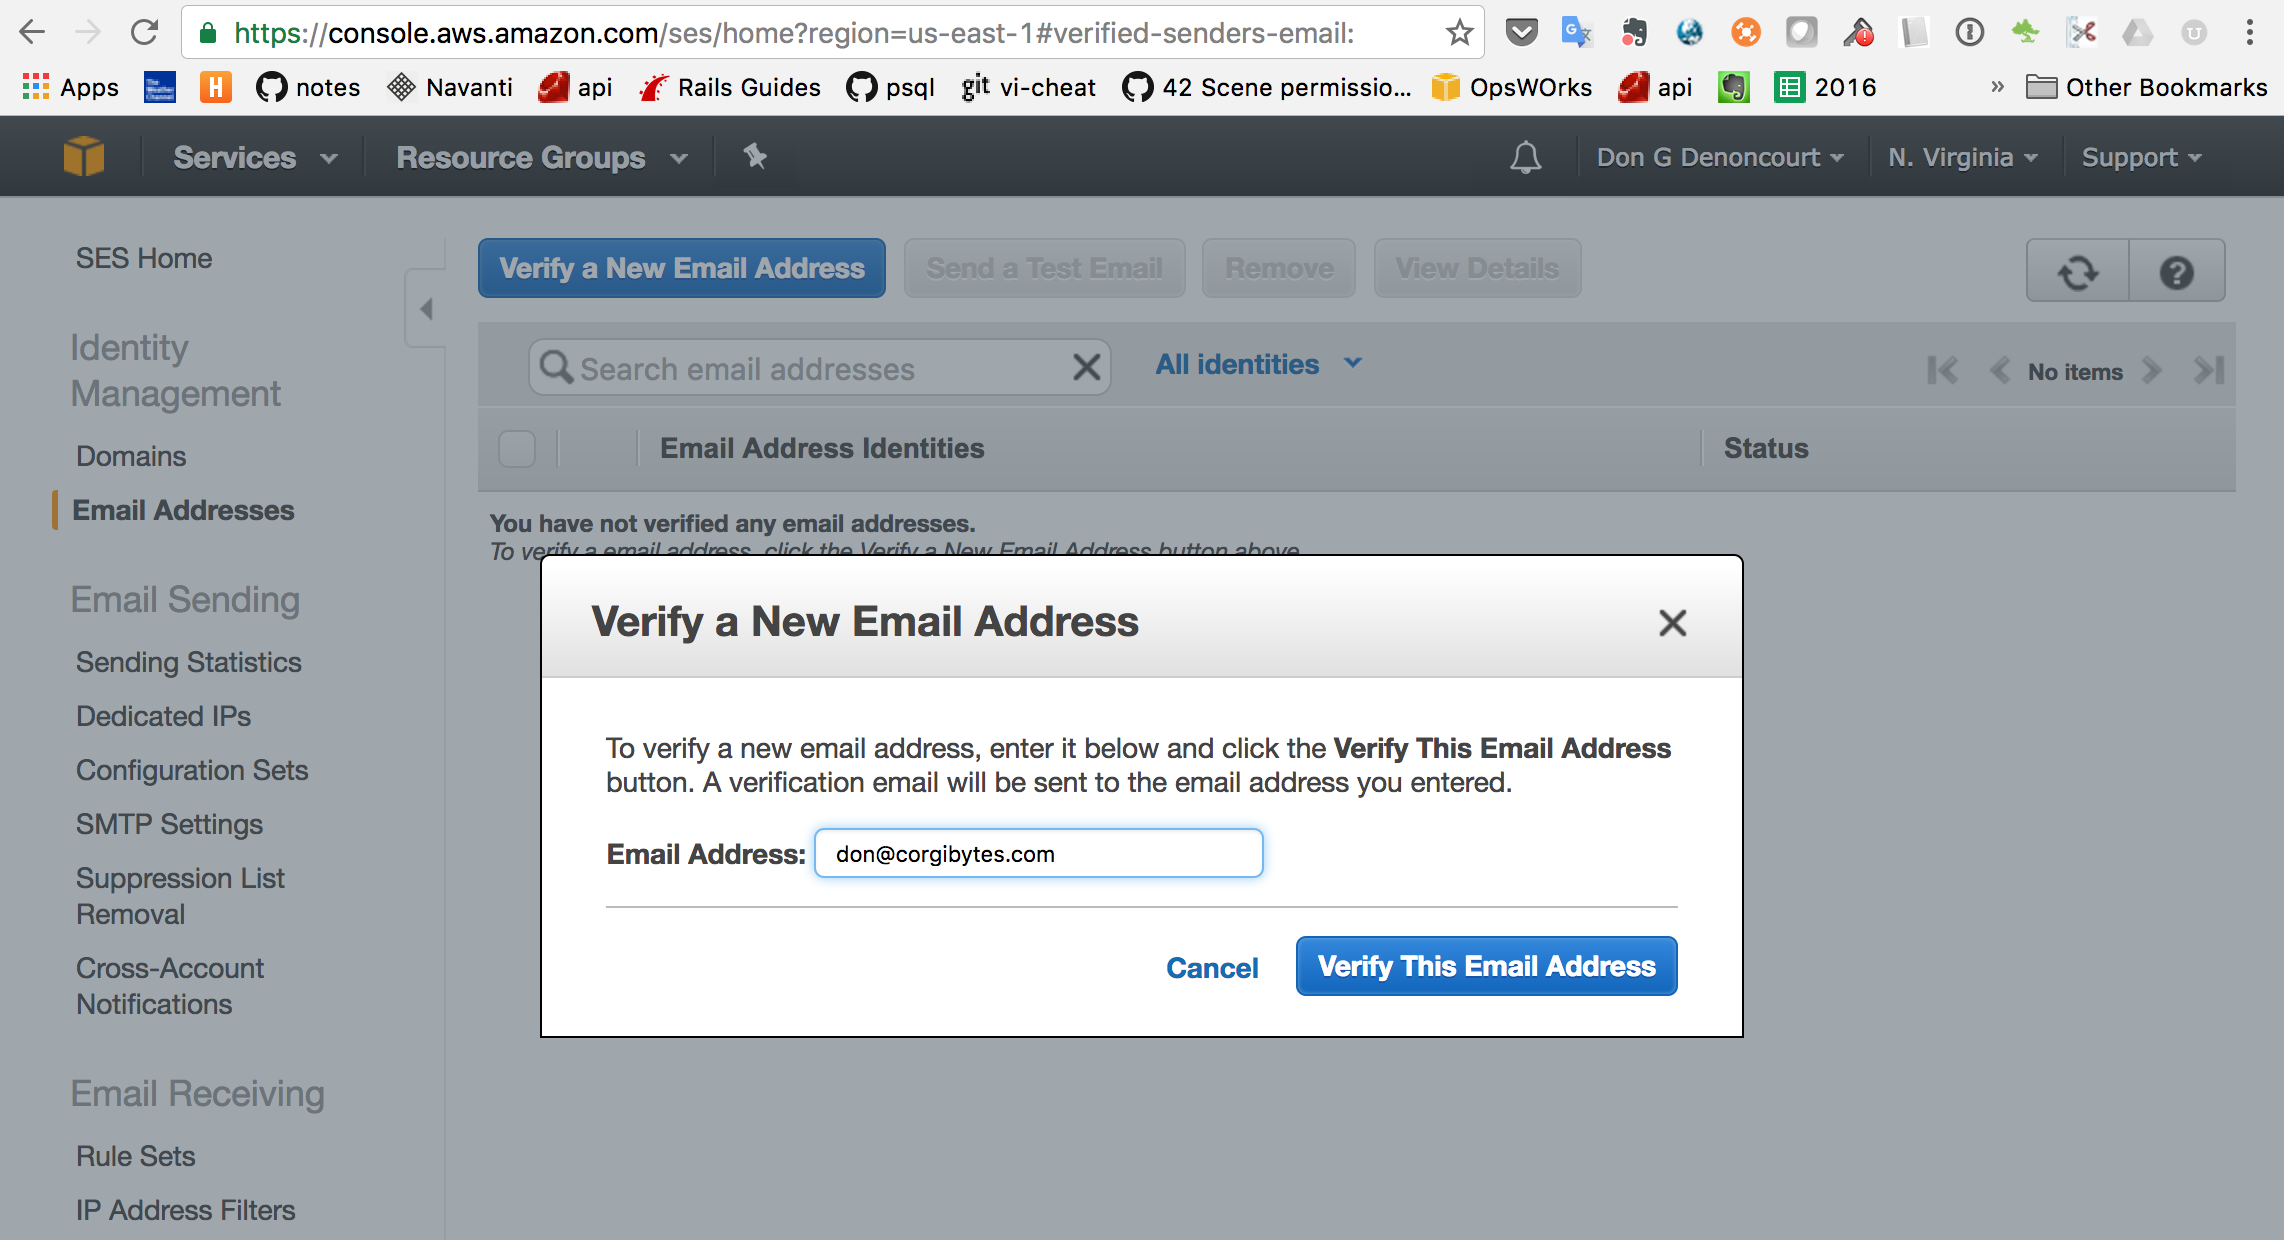
The following popup will be displayed:
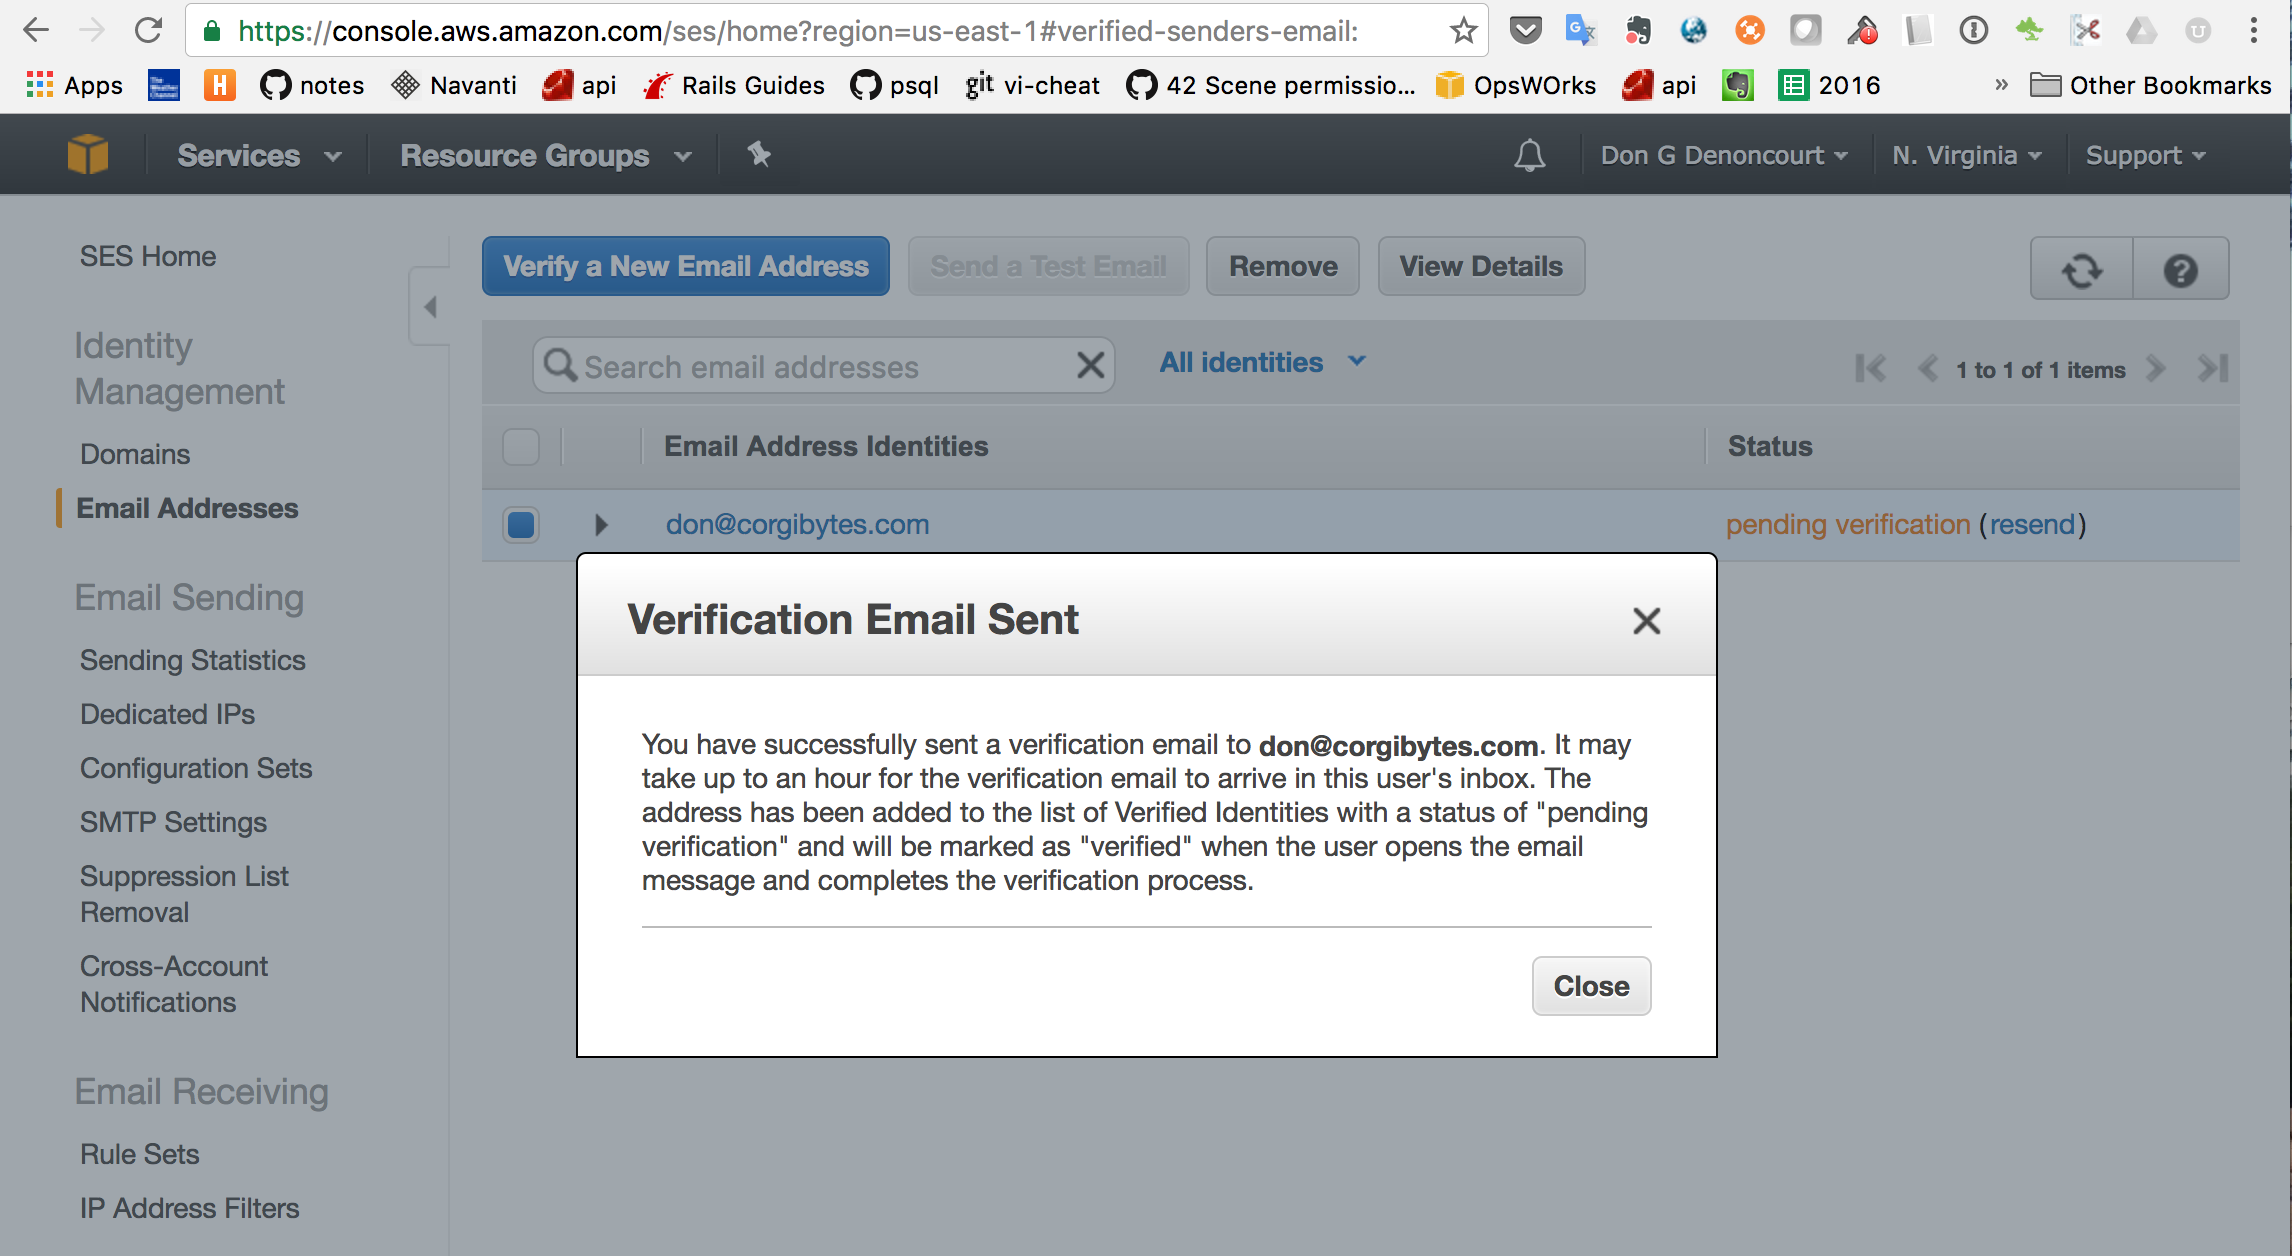
Note, in the background, in a highlighted color, that the Status of the email address is “pending verification.”
An email will be sent to that address with the subject of “Amazon SES Address Verification Request.” The body of that email will say:
Dear Amazon Simple Email Service Customer,
We have received a request to authorize this email address for use with Amazon SES in region US East (N. Virginia). If you requested this verification, please go to the following URL to confirm that you are authorized to use this email address:
After you click that link, the status of the Verified Sender:Email will go to verified once you’ve refreshed the verify email address page.
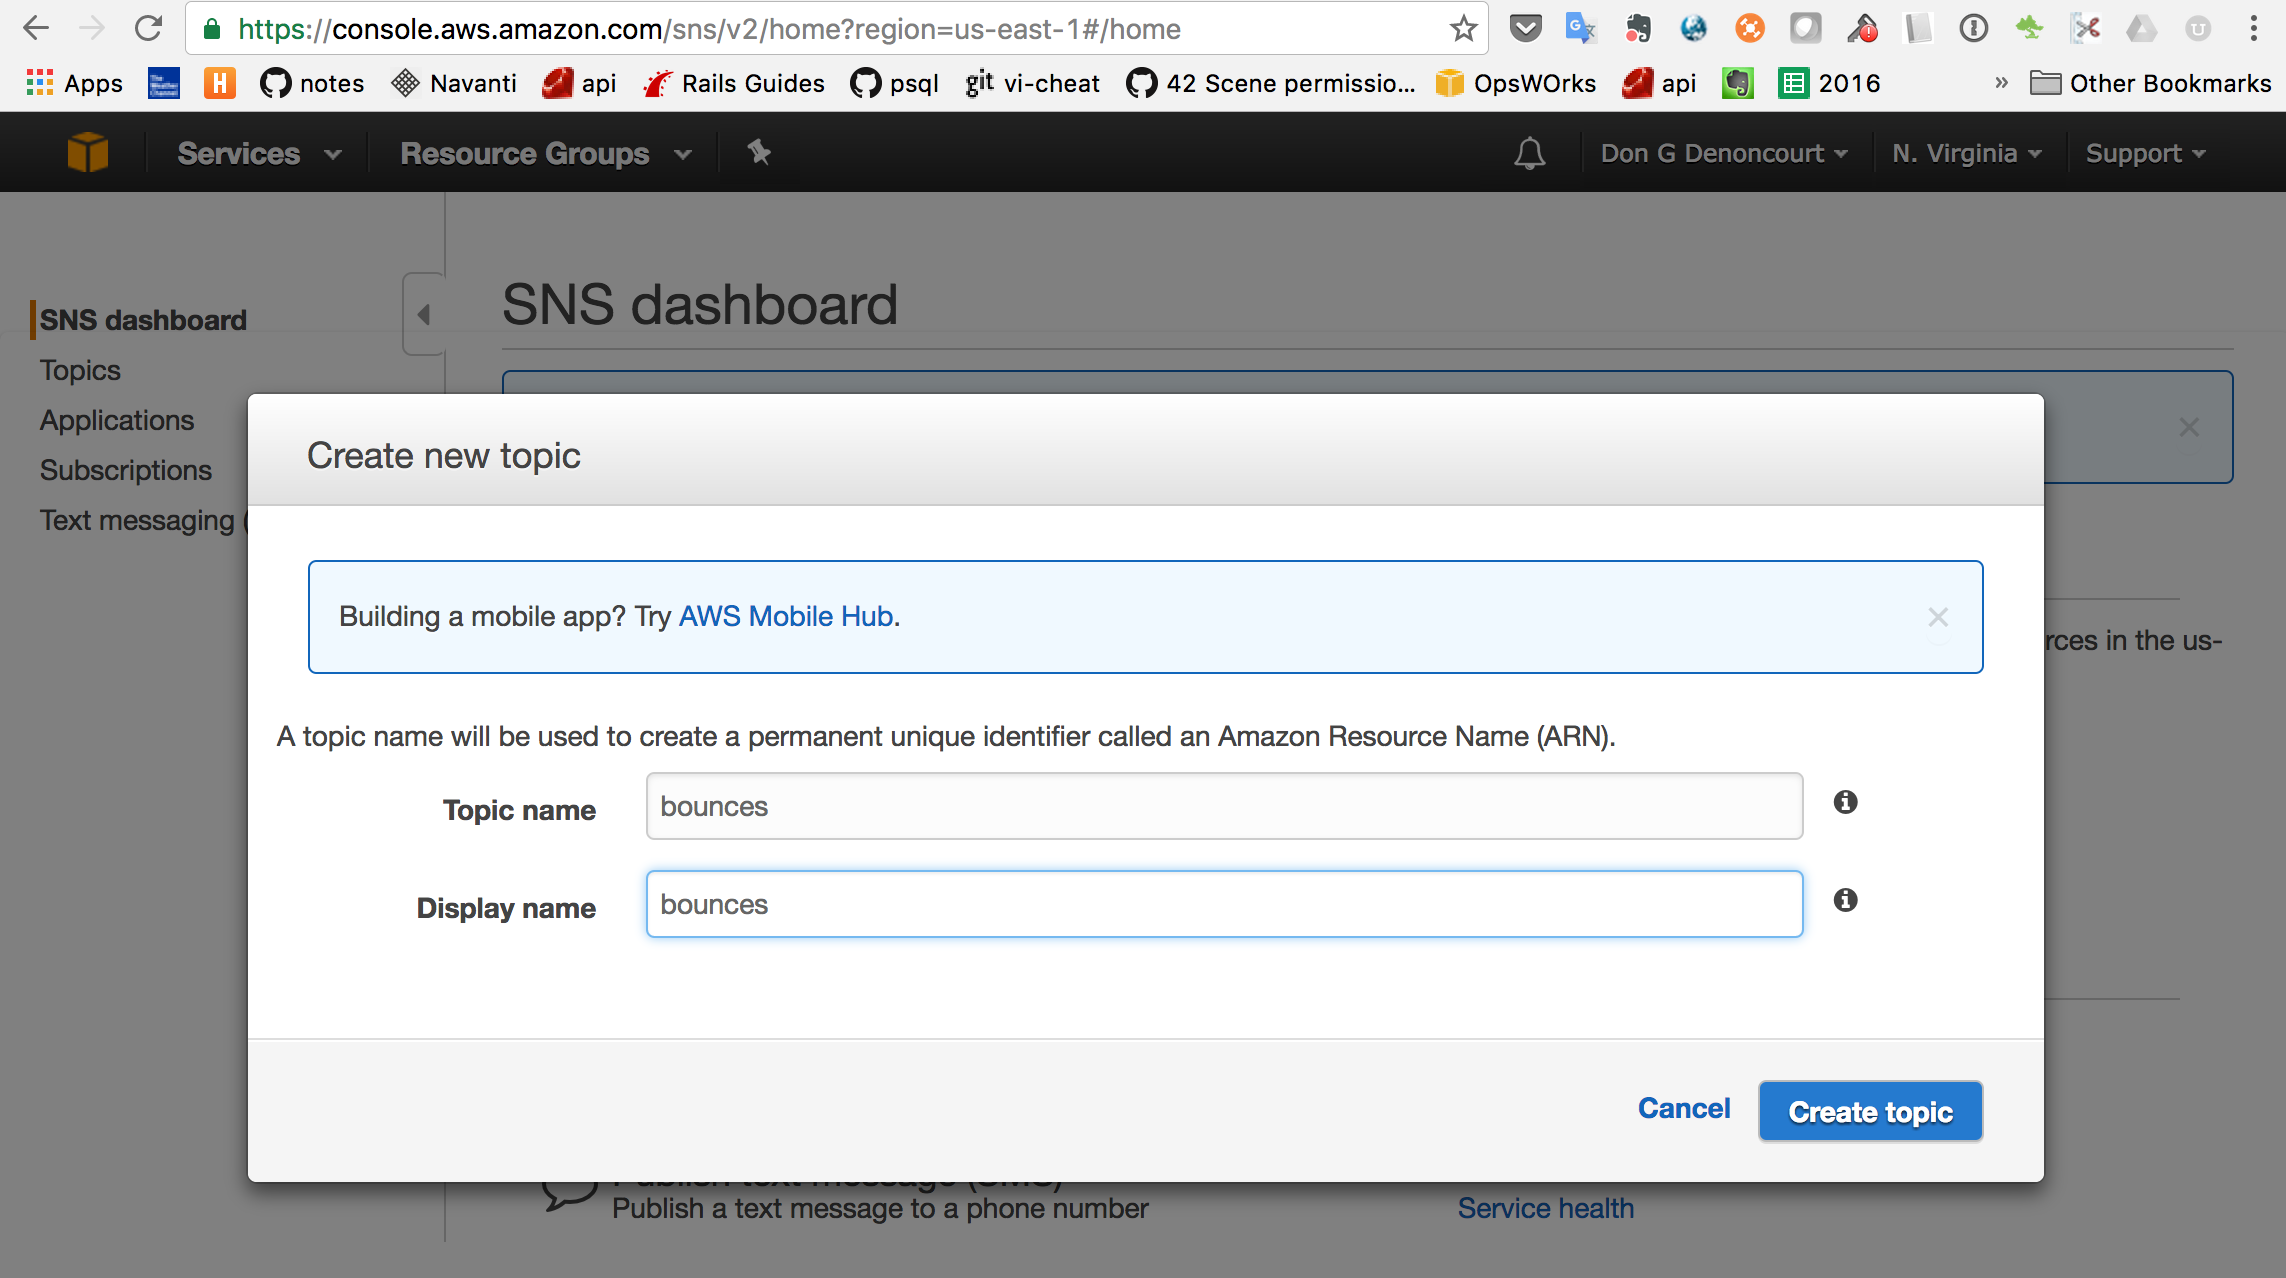
Add the Bounce Topic
With the email addresses verified, the next step is to create a bounce topic. From the AWS SNS home page, click the Create Topic button in the center panel. Enter Topic and Display Names of “bounce” and then click the Create Topic button.
In the page labeled Topic details: bounces click the Create subscription button and, in the Create subscription popup change the protocol to https and key an endpoint name that matches your application’s bounce route and click the Create subscription button.
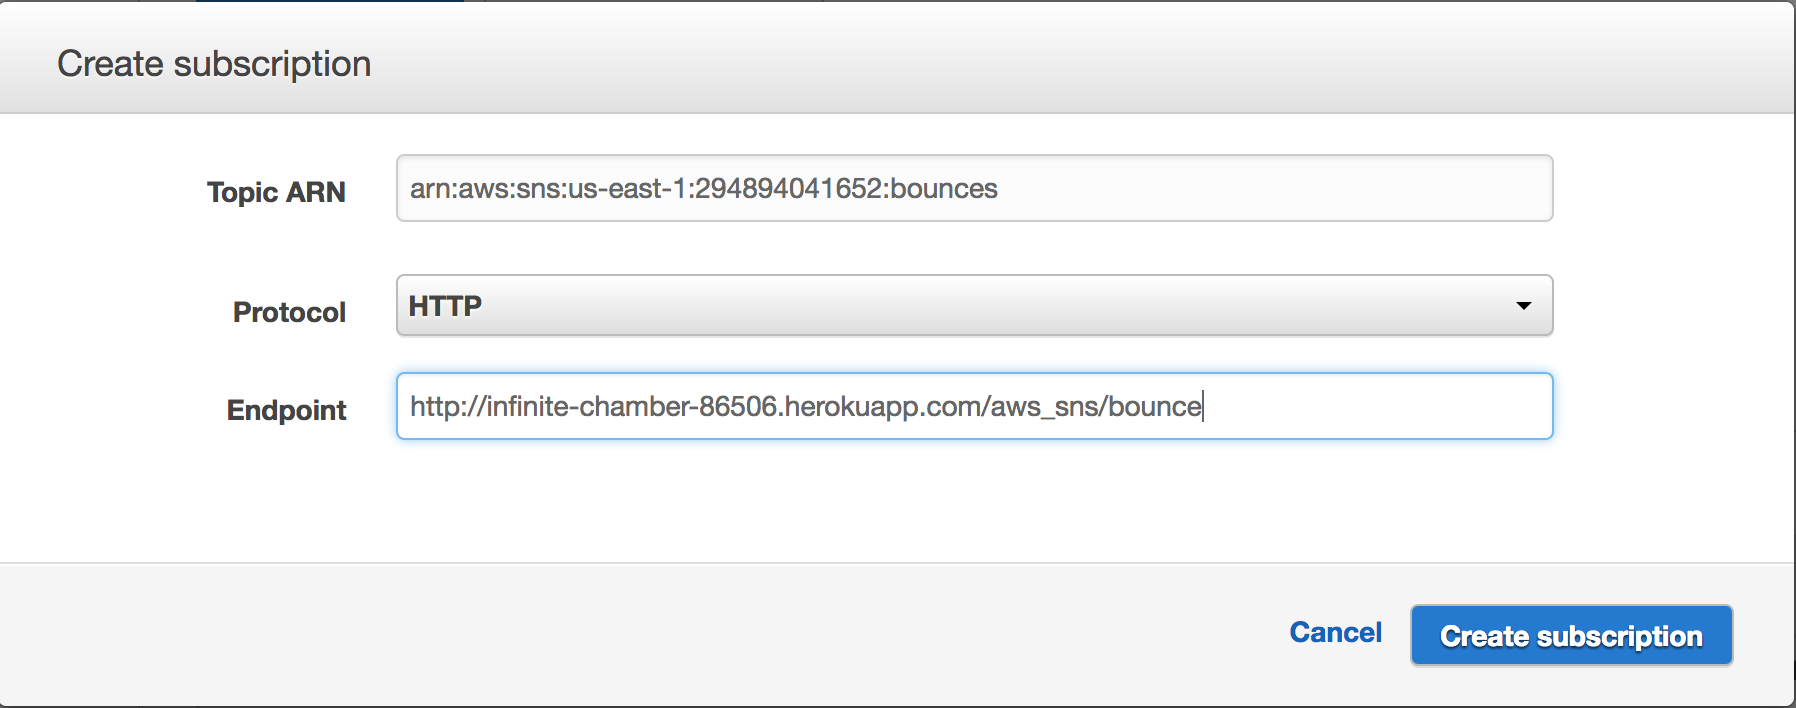
Back on the Topic details: bounces page, refresh, and the page Subscription ID column will go from Pending to the Topic ARN. Click the check box beside that Subscription ID and click the Confirm subscription button.
“Subscription request received! A confirmation message will be sent to the subscribed endpoint. Once the subscription has been confirmed, the endpoint will receive notifications from this topic. Subscriptions will expire after 3 days if not confirmed.”
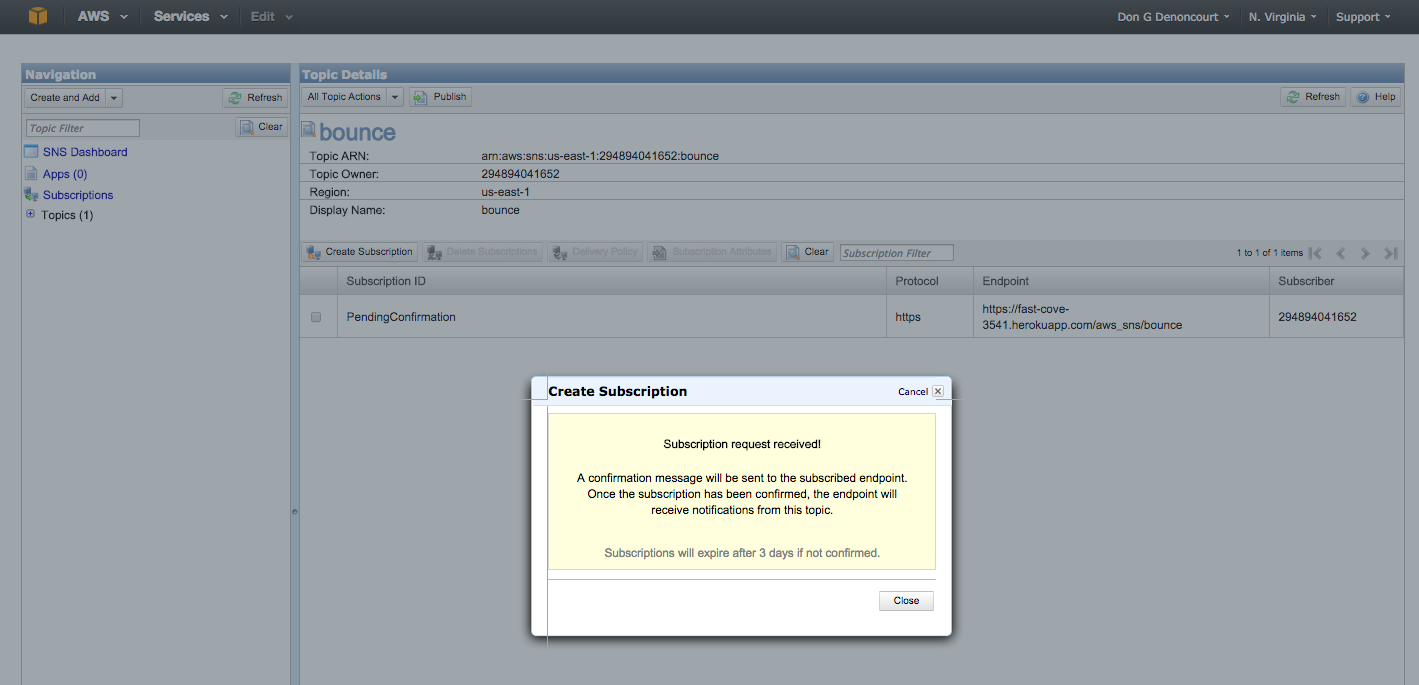
Click the Close button on that popup and note the SubscriptionId column on the page still says “PendingConfirmation.” Click refresh and, if your application was available to successfully respond to the URL specified in the bounce endpoint, the SubscriptionId should be set to a value like:
arn:aws:sns:us-east-1:294894041652:bounce:30e9ca4b-0723-4078-86a5-0d1d2573d101
Note your Rails log should contain notification of the AWS bounce handler test:
Started POST "/aws_sns/bounce" for 72.21.217.160 at 2017-01-11 19:52:45 +0000
Processing by SimpleMailController#bounce as HTML
bounce callback from AWS with {"Type"=>"SubscriptionConfirmation", "MessageId"=>"8b9deebe-4b9c-459a-b7a7-356181f3de8e", "Token"=>"2336412f37fb687f5d51e6e241d59b68cca4990086f3344ccbf5c57b473072a814c41a3f14bc0c64fd2ef79d7c7d87dec966db746367e324cedec7738b69ba306794b258768ddfaa879f91b7501153b144c6933815d5fd313aeec73e8b41977aec3c0d1adda5787c4be9c471bded8af3", "TopicArn"=>"arn:aws:sns:us-east-1:294894041652:bounces", "Message"=>"You have chosen to subscribe to the topic arn:aws:sns:us-east-1:294894041652:bounces.\nTo confirm the subscription, visit the SubscribeURL included in this message.", "SubscribeURL"=>"https://sns.us-east-1.amazonaws.com/?Action=ConfirmSubscription&TopicArn=arn:aws:sns:us-east-1:294894041652:bounces&Token=2336412f37fb687f5d51e6e241d59b68cca4990086f3344ccbf5c57b473072a814c41a3f14bc0c64fd2ef79d7c7d87dec966db746367e324cedec7738b69ba306794b258768ddfaa879f91b7501153b144c6933815d5fd313aeec73e8b41977aec3c0d1adda5787c4be9c471bded8af3", "Timestamp"=>"2017-01-11T19:52:45.493Z", "SignatureVersion"=>"1", "Signature"=>"BdRcDd4PnNi/lzrzLVHi68fRmZ164FyUZ/9EnV7nwJmP3Ej8dbgT4gzvW7qRp0DP3wXuEm0S97twvbfbJ7UdOHL+HlSA4balL9s2irFDI1IxehxWZbRRa4IZ7Hzo8eRyy+Cv1KetBAgZFGikNCCe5ZS4F3vhGP5yjGydO0Jx5H7lIouK/B0h1Jdi1sqiCYLp8CofHWUSEVKUnbqqeuQHVViE8eICqVAJjKtr41kYvYTt2be45T12ni4H6qkLcT9JpfgmikU3l9/EfCjAWc3c4q9aYR0MfIwt40UPwSiJkBXmQS3oxREwQo9M+Iv/QkJLubOMvy4y3De5h/JzkalcHw==", "SigningCertURL"=>"https://sns.us-east-1.amazonaws.com/SimpleNotificationService-b95095beb82e8f6a046b3aafc7f4149a.pem"}
AWS is requesting confirmation of the bounce handler URL
Rendered text template (0.0ms)
Completed 200 OK in 201ms (Views: 0.5ms | ActiveRecord: 0.0ms)
Selecting the Simplified JSON Notification Format
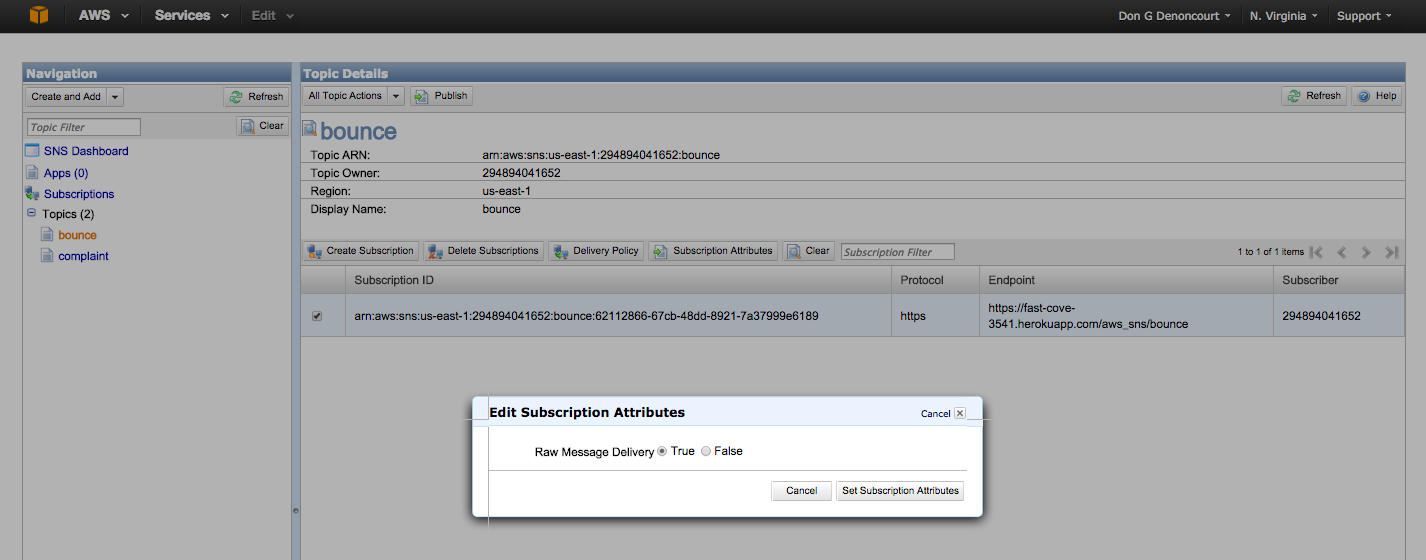
To get a simplified version of the AWS-SES bounce JSON string (which is also the format I expect in SimpleMailController), I changed the raw type. You should do that as well by clicking on the Subscriptions link in the left panel, then clicking the checkbox of the bounce topic in the center panel, select Edit subscription attributes from the Actions drop-down and, in the popup, click Raw Message Delivery True, and click the Set Subscription Attributes button.
Enabling Bounce Notifications
Next, you need to assign the newly created “bounce” SNS topic to your SES Verified Senders. From AWS SES home page left panel, click on Email Addresses under Verified Senders. You had previously entered an email address here but, this time, we need to specify that emails sent through the Verified Senders will have bounce processing enabled.

Then, click on the Verified Sender that you use as your application’s from address, expand the Notifications twirly, click on the Edit Configuration button, and, in the select box for Bounces, pick the ‘bounce’ topic you created earlier. And click the Save Config button.
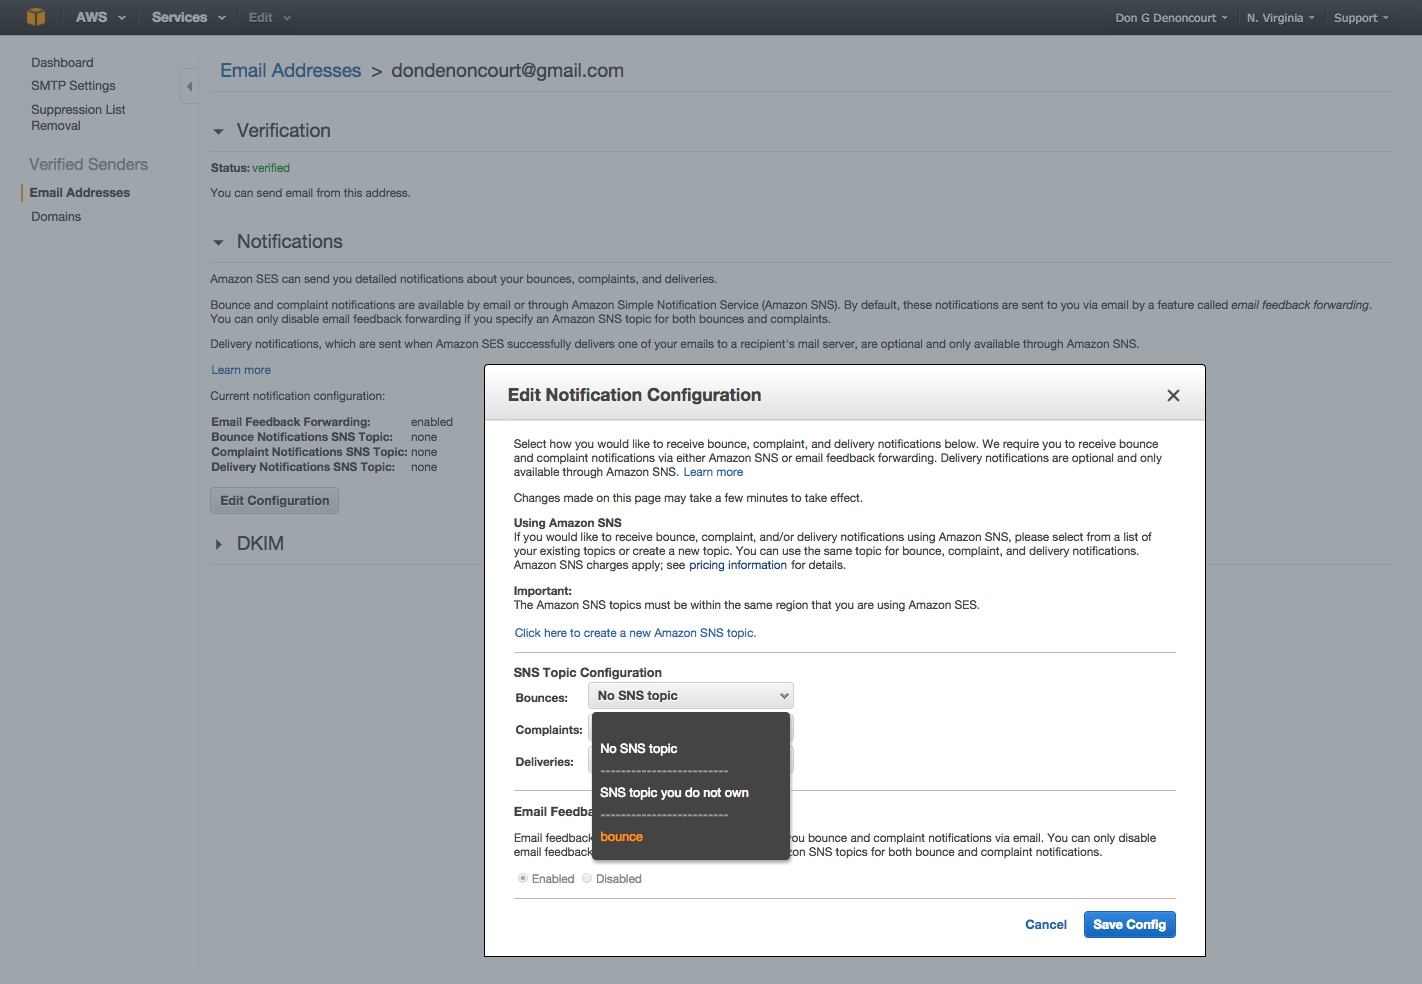
Note that you can configure bounce notifications by domain as well as sender email address. Also note that, after a successful bounce notification configuration, AWS posts to your bounce handler an “AmazonSnsSubscriptionSucceeded” bounce notification.
Test Bouncing
The free and default version of AWS SES only lets you mail to verified address. So it is a bit of a problem to test bounces. No problem, though, as AWS provides a set of test email addresses you can use.
That list contains an email that you can use to test your bounce code. From my app I used:
https://fast-cove-3541.herokuapp.com/mail_it?email=bounce@simulator.amazonses.com
The simple_mail_controller#bounce method handled that bounce by sending myself an email the body of which contains the following ASW-SNS bounce JSON string:
{"notificationType"=>"Bounce", "bounce"=>
{"bounceSubType"=>"General",
 "bounceType"=>"Permanent",
 "bouncedRecipients"=>
 [{"emailAddress"=>"bounce@simulator.amazonses.com",
   "status"=>"5.1.1",
   "action"=>"failed",
   "diagnosticCode"=>"smtp; 550 5.1.1 user unknown"
 }],
"reportingMTA"=>"dsn; a8-34.smtp-out.amazonses.com", "timestamp"=>"2015-02-07T17:40:39.338Z",
 "feedbackId"=>"0000014b65210ac9-b9f36242-8ade-413e-8597-1112a631244f-000000"}, "mail"=>{"timestamp"=>"2015-02-07T17:40:38.000Z",
"source"=>"don@corgibytes.com",
"destination"=>["bounce@simulator.amazonses.com"],
 "messageId"=>"0000014b652108a4-38938047-2f1b-4d2b-a1ca-28b58ed6fdd5-000000"}}
The JSON contains an array of bouncedReceipts. My bounce method did not really “handle” the bounce in a useful manner. All it does is log the email addresses. Your application would, undoubtedly, do something a bit more useful.
Amazon lists the JSON structure for bounce notifications. You probably will want to look at the bounce types and process their handling accordingly.
In a production application, I coded RSpec bounce handling tests with JSON built from the AWS samples.
Full Code for Mini-App
If you’d like to see the full code for this application, you’ll find it on GitHub.
Let me know what you think!
Want to be alerted when we publish future blogs? Sign up for our newsletter!