Docker for Mac - Safely reset from factory defaults
Several months ago, I got a notification to upgrade Docker for Mac to version 18, and there was a note in the recent changes that caught my eye. It mentioned a change that was implemented because of a data corruption issue. I’m not using Docker for Mac for any production workloads, just development environments, but I wanted to go ahead and do the extra work to try and avoid any data corruption.

In order to trigger the change, the release notes mentioned performing the “Reset from factory defaults” option in the Docker for Mac preferences window. This completely wipes out any data that’s stored in your containers and volumes, so there were some instructions on how to backup and restore your information. I ran into some problems with those steps, so I thought I’d put together a more concise recipe here.
Assumptions
For these instructions, I’m assuming that you’re working with a project using docker-compose, and that you want to make sure that your images don’t have to be rebuilt, and the data in your volumes is preserved.
I’m also assuming that your version of Docker for Mac (and related tools) is compatible with the version that I was using when I wrote this. See below for the specifics on those.
Name Your Containers
If it looks anything like mine, your docker-compose.yml file has services listed which specify the build option. For each of those, go ahead and update your docker-compose.yml to also specify an image for each of those. For example, in my Rails project, I have both a web and worker container that are built from the current directory. I give both of those the same image name so that docker-compose build knows it only has to build that container image once. This isn’t specifically required for backing up your container images, but it makes life a lot easier.
Here’s what my docker-compose.yml file looks like:
version: '2'
services:
  redis:
    image: redis
    ports:
      - "6379"
  web:
    image: spree-app
    build: .
    command: bundle exec rails s -p 80 -b '0.0.0.0'
    volumes:
      - .:/app
    volumes_from:
      - bundle
    ports:
      - "80:80"
    links:
      - db
      - redis:redis.local
    depends_on:
      - db
      - redis
      - bundle
    environment: &app_environment
      REDIS_URL: redis://redis.local:6379
    entrypoint: /app/docker-entrypoint.sh
  worker:
    image: spree-app
    build: .
    command: bundle exec script/delayed_job run
    volumes:
      - .:/app
    volumes_from:
      - bundle
    links:
      - db
      - redis:redis.local
    depends_on:
      - db
      - redis
      - bundle
    environment:
      REDIS_URL: redis://redis.local:6379
    entrypoint: /app/docker-entrypoint.sh
  db:
    image: postgres:9.1.15
    ports:
      - "5432"
    volumes_from:
      - pg_data
    depends_on:
      - pg_data
  pg_data:
    image: busybox
    volumes:
      - "/var/lib/postgresql"
  bundle:
    image: busybox
    volumes:
      - "/bundle"
Identify Your Full Container Names
docker-compose hides some of the complexities of working directly with the docker command. One such complexity is the full name of each of your containers. When working with docker-compose, you can use the names of the services that are specified in the docker-compose.yml file. Docker Compose does the hard work of giving each container a unique container name within the Docker engine. The easiest way to see the full names is by running docker-compose ps. You should get output that looks something like this.
docker-compose ps
           Name                         Command               State             Ports
----------------------------------------------------------------------------------------------
cbits-spree-ecom_bundle_1    sh                               Exit 0
cbits-spree-ecom_db_1        /docker-entrypoint.sh postgres   Up       0.0.0.0:32771->5432/tcp
cbits-spree-ecom_pg_data_1   sh                               Exit 0
cbits-spree-ecom_redis_1     docker-entrypoint.sh redis ...   Up       0.0.0.0:32770->6379/tcp
cbits-spree-ecom_web_1       /app/docker-entrypoint.sh  ...   Exit 1
cbits-spree-ecom_worker_1    /app/docker-entrypoint.sh  ...   Exit 1
You’ll need to refer to these names in future steps. As you can see from the output above, they are usually formatted as a combination of the current directory name (cbits-spree-ecom in my case), the service name, and a number which will only be greater than 1 if you have more than one instance of a container running.
Identify Your Volumes
In my docker-compose.yml file above, I’m using two containers to house volumes. This is done differently with newer versions of the docker-compose.yml file format. I’m using version 2 in this example. If you’re using version 3 or greater, you’re likely specifying volumes slightly differently.
In the example above, I have two volumes, one named pg_data and one named bundle. The pg_data volume is mounted in the db container at /var/lib/postgresql and the bundle volume is mounted in both the web and worker containers at /bundle. We’ll see those names again in future steps.
Back up the Volumes
Here’s the command to run to back up the information in the pg_data container. I know it’s intimidating, but we’re going to break it down in a minute.
docker run \
  --rm \
  --volumes-from cbits-spree-ecom_db_1 \
  -v $(pwd):/backup \
  ubuntu \
  tar cvf /backup/var-lib-postgresql.tar /var/lib/postgresql/
You should get output which looks similar to this (this output has been truncated for the sake of brevity in an already long article):
tar: Removing leading `/' from member namescker run --rm --volumes-from cbits-spree-ecom_db_1
/var/lib/postgresql/
/var/lib/postgresql/data/
/var/lib/postgresql/data/pg_ident.conf
/var/lib/postgresql/data/postmaster.pid
/var/lib/postgresql/data/postmaster.opts
/var/lib/postgresql/data/pg_tblspc/
/var/lib/postgresql/data/pg_twophase/
/var/lib/postgresql/data/pg_xlog/
/var/lib/postgresql/data/pg_xlog/00000001000000000000004F
/var/lib/postgresql/data/pg_xlog/00000001000000000000004D
There’s a lot going on in that command so let’s break it down in the bulleted list below.
-
dockerWe’re running
dockerdirectly for this command. We’re not working withdocker-compose. If you’ve only ever useddocker-compose, then you’re about to get a peek at all of the complexity that it typically hides from us. -
runWe’re asking
dockerto run a container for us. -
--rmWe’re asking
dockerto remove the container after it has finished running because we’re not going to need it for anything else and there’s no need to waste the disk space. -
--volumes-from cbits-spree-ecom_db_1We’re asking
dockerto use the volumes that are mounted in thecbits-spree-ecom_db_1container, which is just thedbcontainer from ourdocker-compose.ymlfile. The volumes will all be mounted in the places that we’d expect them to be if we were running a copy of thedbcontainer directly. This is the container that we want, because it’s the one that has access to the data that we want to back up. -
-v $(pwd):/backupWe’re asking
dockerto add an additional volume. This one will be the current directory outside of the container (on our host system) and will be mounted at/backupinside the container. -
ubuntuWe’re asking docker to run an instance of the container image named
ubuntu. -
tar cvf /backup/var-lib-postgresql.tar /var/lib/postgresql/We’re asking
dockerto run the tar command inside the container that we’ve asked it to start. This is the command that does the actual work. It’s going to read the contents of our volume and archive them in a tar file inside the/backupdirectory (which is also the current directory outside of the container). This is what will give us access to the data from outside of the container.
Now that we’ve dug into that, it should be easier to understand the command to back up the bundle volume below.
Here’s the command to back up the bundle volume.
docker run \
  --rm \
  --volumes-from cbits-spree-ecom_db_1 \
  -v $(pwd):/backup \
  ubuntu \
  tar cvf /backup/bundle.tar /bundle
And here’s the first few lines of the command’s output.
/bundle/
tar: Removing leading `/' from member names
/bundle/doc/
/bundle/gems/
/bundle/gems/unicorn-4.3.1/
/bundle/gems/unicorn-4.3.1/ISSUES
/bundle/gems/unicorn-4.3.1/README
Back up Your Container Images
The next step is to back up each of your container images. This will also be done by calling a docker command directly; this one being docker save. You’ll need to call this on the images that are being used by your docker-compose.yml file. You can quickly get a list of all of those by running the docker-compose images command.
docker-compose imagesContainer Repository Tag Image Id Size
-------------------------------------------------------------------------
cbits-spree-ecom_bundle_1 busybox latest 22c2dd5ee85d 1.11 MB
cbits-spree-ecom_db_1 postgres 9.1.15 6e4348087c16 202 MB
cbits-spree-ecom_pg_data_1 busybox latest 22c2dd5ee85d 1.11 MB
cbits-spree-ecom_redis_1 redis latest f06a5773f01e 79.5 MB
cbits-spree-ecom_web_1 spree-app latest 76423c5c573d 1.15 GB
cbits-spree-ecom_worker_1 spree-app latest 76423c5c573d 1.15 GBNow for each image that you want to save you need to run a command that looks like this:
docker save spree-app > spree-app.tarThat command won’t produce any output, but if it takes a couple of seconds, then it’s probably working. After it’s finished, you run ls to check the file’s size.
ls -s spree-app.tar
2495008 spree-app.tar
Like we did before, let’s walk through the details of that command. There’s not as much going on in this one, but let’s make sure that we understand it anyway.
-
dockerWe’re using the docker command directly.
-
saveWe’re asking docker to save a container’s image for us in a format that can be used by the load command later.
-
spree-app:latestWe’ve taken the values from repository column and the tag column from the output of the
docker-compose imagescommand and joined them together with a : character in between. That tells docker that we want it to back up the container image named spree-app with the tag latest. -
> spree-app.tarThe docker save command sends its output directly to STDOUT, but we want it saved to a file, so we’re using the > character to tell our shell that we want to redirect the output and save it in a file named spree-app.tar instead.
Let’s repeat this process for the other container images that we’re using.
docker save busybox:latest > busybox.tar
docker save postgres:9.1.15 > postgres.tar
docker save redis:latest > redis.tar
Repeat for Each docker-compose Project
You’ll need to repeat the steps above for each docker-compose project that you want to save the data for. You won’t be able to get any of that information back after you perform the reset, so make sure you’ve gotten everything that you wanted.
Perform the Reset
Now that we’ve saved everything for this project, we can safely reset Docker for Mac to its factory defaults.
Restore the Container Images
We need the container images to be available before we put the data back into the volumes. We need to do this before we restore the volumes.
Here are the commands to restore every one of the container images that we backed up earlier.
docker load -i spree-app.tar
docker load -i busybox.tar
docker load -i postgres.tar
docker load -i redis.tar
For each container image that you load, you should see output that looks something like this.
5f70bf18a086: Loading layer  1.024kB/1.024kB
dc7818f0ad09: Loading layer  128.6MB/128.6MB
f134fec9a99e: Loading layer   45.2MB/45.2MB
c5bfde1f7499: Loading layer  126.3MB/126.3MB
a1978924e1a2: Loading layer  398.2MB/398.2MB
e1767f2cda17: Loading layer  53.07MB/53.07MB
85920dc2fe27: Loading layer   2.56kB/2.56kB
32e8739e3478: Loading layer  3.932MB/3.932MB
7997c9222b4b: Loading layer  100.1MB/100.1MB
7bca91565aa1: Loading layer  51.77MB/51.77MB
ba78842082e1: Loading layer  1.536kB/1.536kB
7c4e1d775dce: Loading layer  141.8MB/141.8MB
4b4242736321: Loading layer  2.048kB/2.048kB
05a249cfdf41: Loading layer  4.608kB/4.608kB
fa7a04b08c93: Loading layer  4.608kB/4.608kB
113ef05337b2: Loading layer   2.56kB/2.56kB
b2f41a89f721: Loading layer  4.608kB/4.608kB
c8d2f35661db: Loading layer  5.632kB/5.632kB
fc31ff4e2304: Loading layer   5.12kB/5.12kB
34b1e2bb4799: Loading layer  3.072kB/3.072kB
f4ea0bb3d9d4: Loading layer  219.7MB/219.7MB
15f5fc64d554: Loading layer   2.56kB/2.56kB
f3bcfbfd3f07: Loading layer  8.564MB/8.564MB
100a53ab6e1a: Loading layer  26.62kB/26.62kB
e6b8421838b1: Loading layer  23.04kB/23.04kB
Loaded image: spree-app:latest
Breaking it down looks like this:
-
dockerWe’re working with docker directly.
-
loadWe’re asking docker to load container images that we saved using the docker save command.
-
-i spree-app.tarWe’re asking docker to read from the spree-app.tar file to load the container image.
Create Your Containers from the Restored Container Images
Now that we’ve restored the container images, we need to ask docker-compose to create the containers that we’ve specified in our docker-compose.yml file.
docker-compose up --no-startThe output should look something like this.
Creating network "cbits-spree-ecom_default" with the default driver
Creating cbits-spree-ecom_pg_data_1 ... done
Creating cbits-spree-ecom_redis_1   ... done
Creating cbits-spree-ecom_bundle_1  ... done
Creating cbits-spree-ecom_db_1      ... done
Creating cbits-spree-ecom_worker_1  ... done
Creating cbits-spree-ecom_web_1     ... done
You’re probably used to using docker-compose up, but I suspect you haven’t used the --no-start option before. The --no-start option simply asks docker-compose to just create the containers without actually starting them. We don’t want them to run until we’ve restored the data from our volumes, which is the next step.
Restore the Volumes
Now that we’ve restored the container images, we can restore the volume data. Here’s the command to do that for the pg_data volume.
docker run \
  --rm \
  --volumes-from cbits-spree-ecom_db_1 \
  -v $(pwd):/backup \
  ubuntu \
  tar xvf /backup/var-lib-postgresql.tar var/lib/postgresql
The output should look something like this.
var/lib/postgresql/
var/lib/postgresql/data/
var/lib/postgresql/data/pg_ident.conf
var/lib/postgresql/data/postmaster.pid
var/lib/postgresql/data/postmaster.opts
var/lib/postgresql/data/pg_tblspc/
var/lib/postgresql/data/pg_twophase/
var/lib/postgresql/data/pg_xlog/
Let’s break that down:
-
dockerWe’re working with docker directly.
-
runWe’re asking docker to run a container.
-
--rmWe’re asking docker to delete the container when we’re done with it.
-
--volumes-from cbits-spree-ecom_db_1We’re asking docker to use the volumes from the db container in our
docker-compose.ymlfile. -
-v $(pwd):/backupWe’re asking docker to mount our current directory,
$(pwd), from outside of the container (which contains our backup files) at/backupinside the container. -
ubuntuWe’re asking docker to run an instance of the
ubuntucontainer. -
tar xvf /backup/var-lib-postgresql.tar var/lib/postgresqlThis is the command that extracts our backup and puts all of the data back where it came from.
Now that we’ve gone over the details of that command, we can restore the bundle volume.
docker run \
  --rm \
  --volumes-from cbits-spree-ecom_web_1 \
  -v $(pwd):/backup \
  ubuntu \
  tar xvf /backup/bundle.tar bundle
And the output from that should look something like this (again clipped for brevity).
bundle/
bundle/doc/
bundle/gems/
bundle/gems/unicorn-4.3.1/
bundle/gems/unicorn-4.3.1/ISSUES
bundle/gems/unicorn-4.3.1/README
You’re Done
Now everything has been backed up and restored, and you should be able to use docker-compose as if nothing happened. If you’ve run into a problem working through these steps, please leave a comment. I’ll do my best to help get you unstuck and then update this article to help others avoid similar issues.
Appendix - Specific Docker Tool Versions
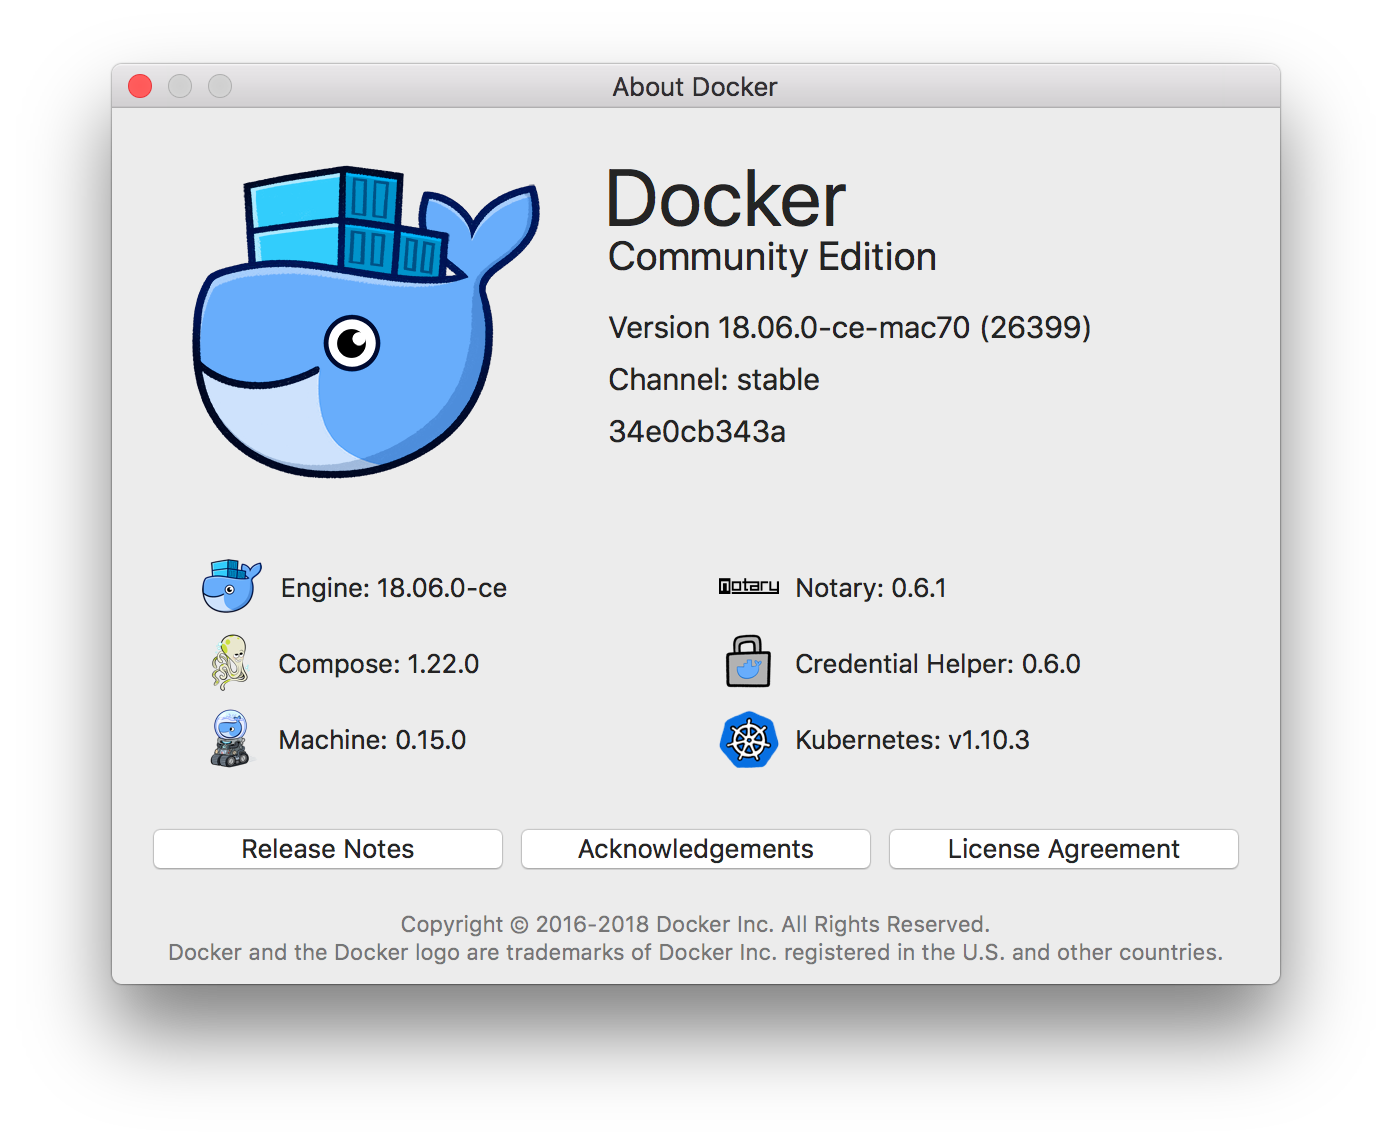
Here are the versions of Docker for Mac, docker-compose, and docker I was running when I ran these commands in this article. That should help with troubleshooting if these instructions don’t work for you in the future.
Docker for Mac version information:
docker-compose version
docker-compose version 1.22.0, build f46880f
docker-py version: 3.4.1
CPython version: 3.6.4
OpenSSL version: OpenSSL 1.0.2o  27 Mar 2018
docker -v
Docker version 18.06.0-ce, build 0ffa825Want to be alerted when we publish future blogs? Sign up for our newsletter!